Planting & Pruning you’re aquatic Plants:
With planted tanks starting to come into their own right along side fish tanks there is an untold amount of information on how to set up and keep them alive, but very little on how to look after the plants in respect of “planting and pruning” them. Here I hope to be able to give you at least the basics of planting & pruning your under water plants.
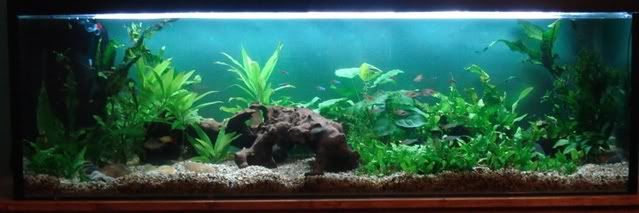
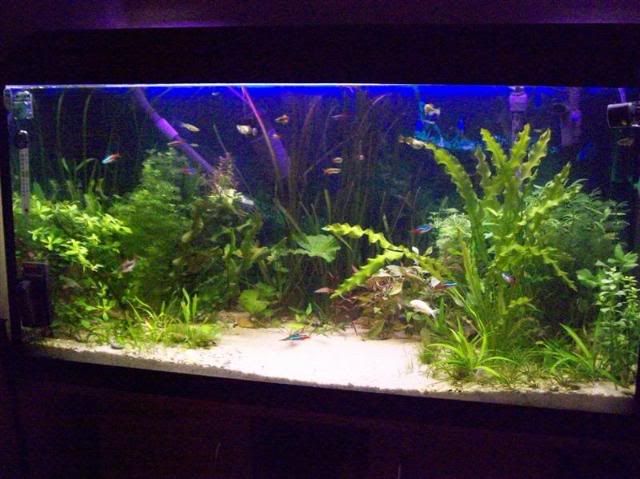
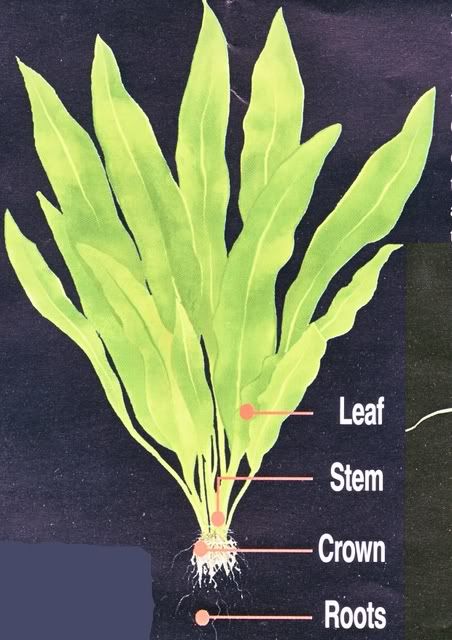
Basic plant lay out
There are 4 basic types of aquatic plants:
Stem.
Rhizome.
Root/potted.
Floating.
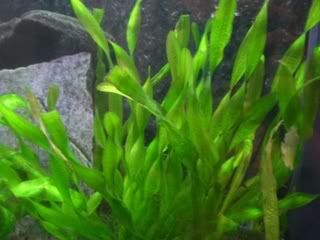
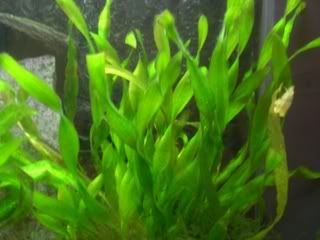
Stem plants:
Planting:
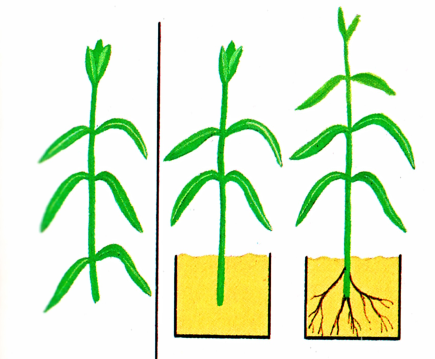
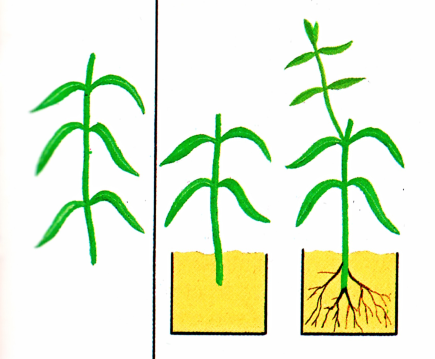
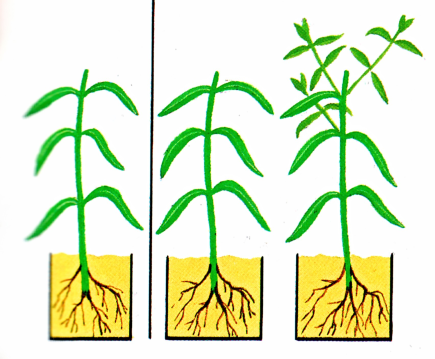
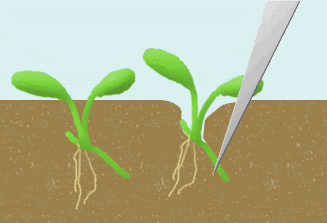
When getting ready to plant a stem plant, first cut with a scissors or knife an angled cut just above one of the healthy green nodes leaving as much of the plant as is possible. When you plant it, push the lower part of the fresh cut plant roughly half to three quarters of the depth of the gravel. Allow enough space between plants to allow light to reach the lower leaves. Stem plants are usually planted in their own random patterned group using five to eight stems. When the stem plant finally grows to the top of your aquarium, it will have rooted and sent out white roots in some species, from the nodes all the way up the plant.
Pruning:
Long-stemmed plants should be trimmed to size that will complement and be in balance of the rest of the tank layout. The scissors should be as sharp as possible. Two or three new leaves will grow from each cut, so the plants may become top-heavy with growth after too much trimming and the stems will break easily. When this starts to happen, trim the plants less often and higher up on the stem. The cut off heads can also be re-planted if wanted.
STEM PLANT CUTTING:
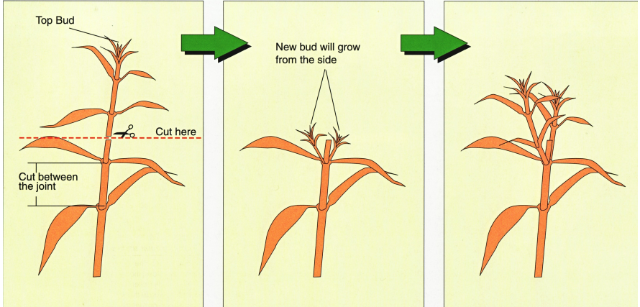
Top cutting: the top part of the plant is the active growing part so makes for the most reliable of cuttings.
Middle cuttings: Although mid sections can be used they will take longer than top sections to establish as they have to not only grow roots but also side shoots to form healthy growth.
Bottom cuttings: when top or middle section pruning has been done the lower section can be left in check and will form new buds from where it has been cut.
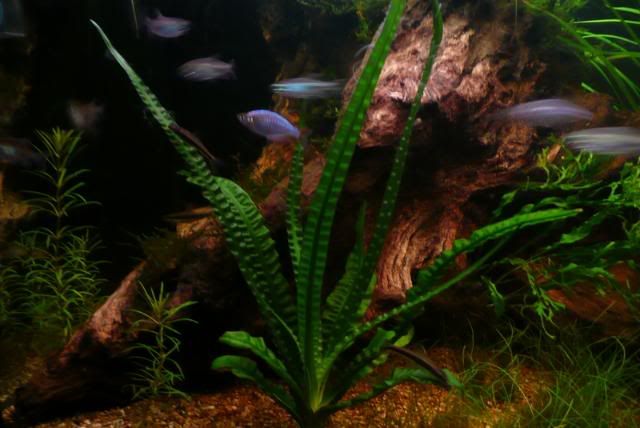
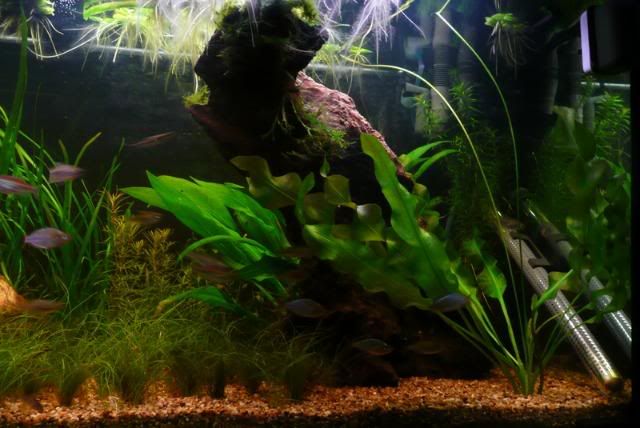
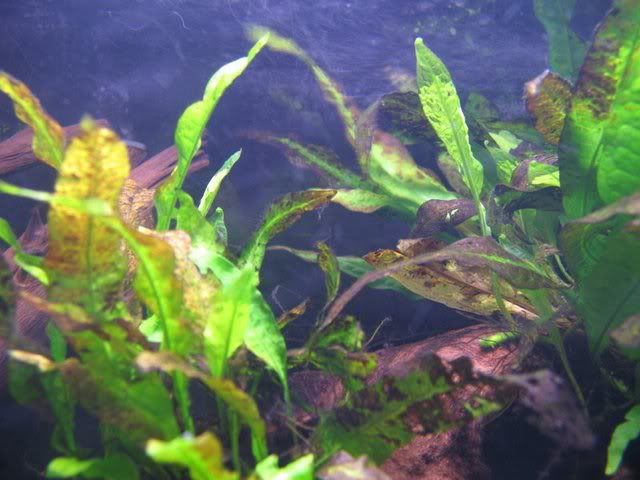
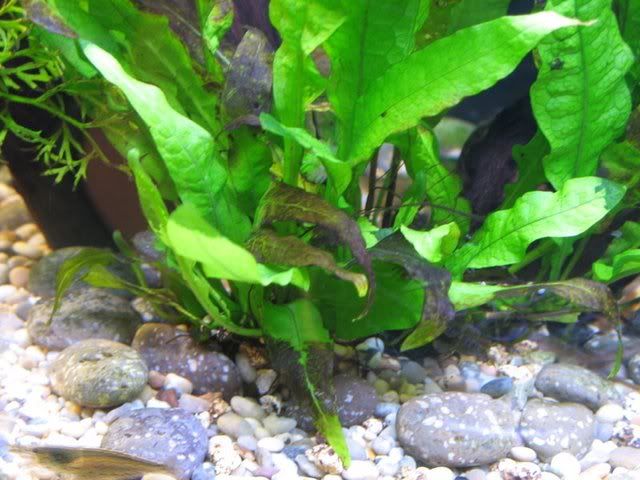
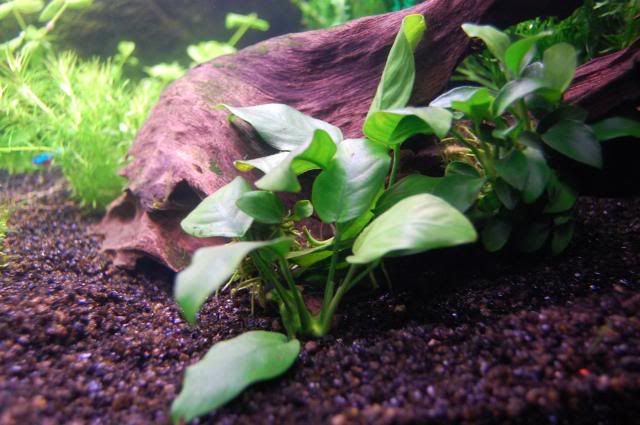
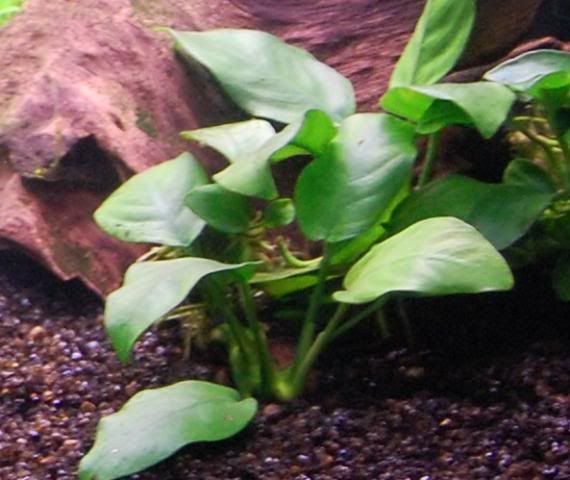
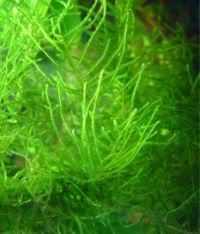
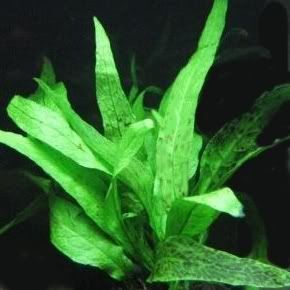
Rhizome plants:
Planting:
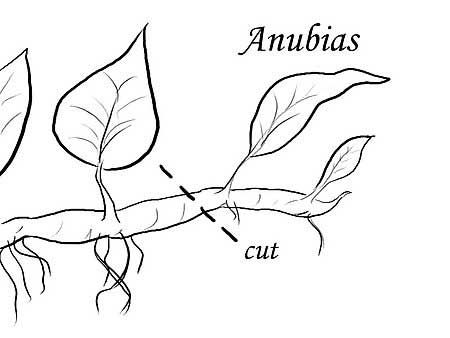
Plants with rhizomes “DO NOT GET PLANTED” they are attached to wood, rock or décor or simply sat on top of the substrate.
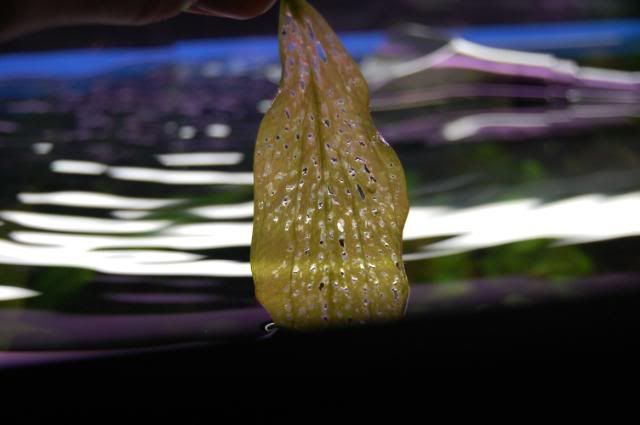
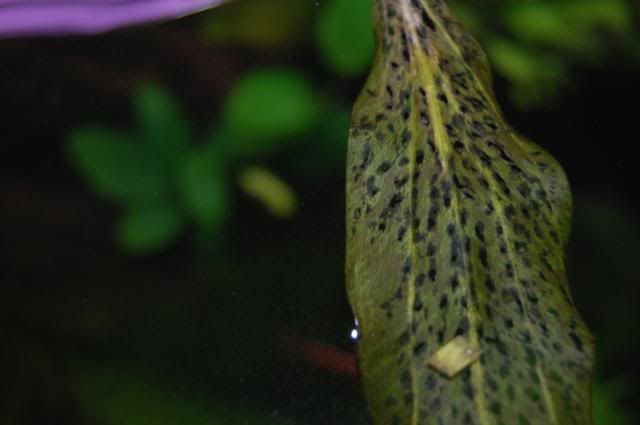
Anubias: (one of the most popular aquatic plants) are strong and can live for a long time, but Anubias leaves get covered with algae very easily, so if you spot any ugly looking leaves (dead, algae-covered, full of holes, etc,) remove them quickly, and new leaves will grow. You can also cut the rhizome of the Anubias if it starts growing in a direction you don't want (and you can replant the cut part).
Ferns: such as Microsorum (java fern) and Bolbitis grow quickly and will soon over take the balance of the layout. Leaves should be removed once they become too big or old. Microsorum develops black spores under its leaves for reproduction. The ugly spores and secondary rhizomes should be removed carefully so as not to damage the main rhizome.
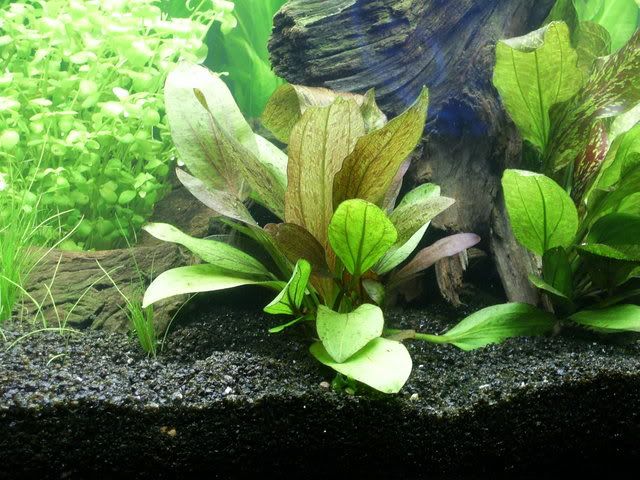
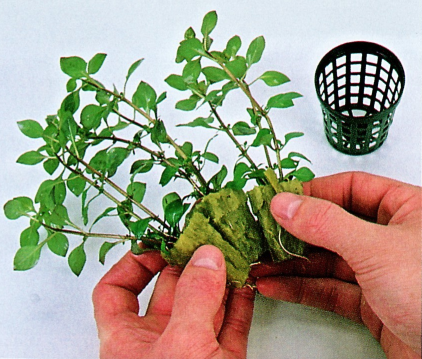
Rooted/pot plants:
Planting:
Potted plants: are supplied with the plant specimen rooted into mineral wool inside a slatted plastic pot. To plant, cut off the pot or gently tap out the mineral wool bound root portion if root growth allows.
Tap the pot and remove the plant with all the rock wool
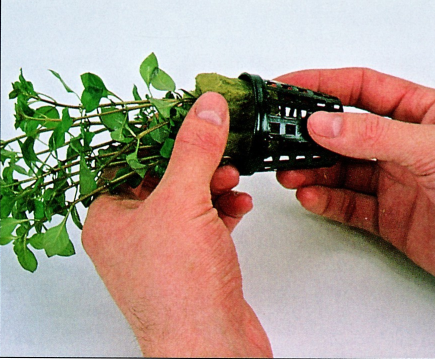
Gently separate the wool.
Some potted plants can have between 3 and 4 or more separate plants.
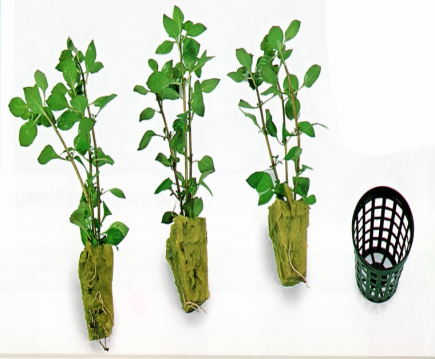
Gently remove the mineral wool from the roots (If some mineral wool remains this will not have any adverse or detrimental effects) and then can be planted. Spread the roots out to prevent “Bunching” which can cause root rot and trim any excessively long roots to size.
The above plants are trimmed the same as stem plants in between the leaves.
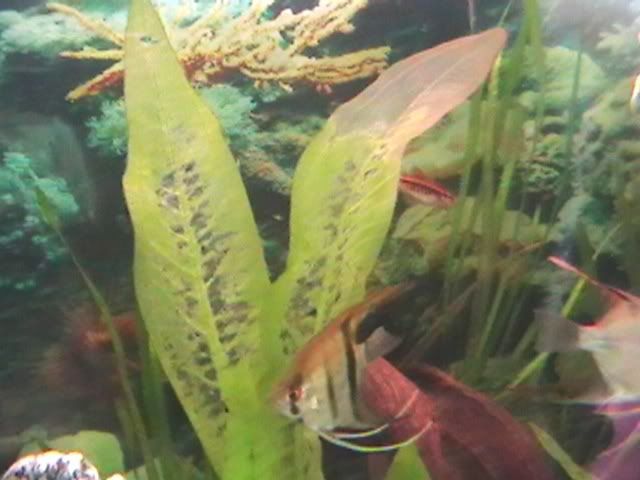
Cryptocoryne’s: also need to be trimmed! The most important thing about cutting Crypt leaves is to cut it right at the bottom, otherwise you will be surprised by a nasty mass of dead matter after lots of wrong trimmings.
Plants with runners:
Other plants include those that grow runners from their roots E.G. valls.
Depending on what the plant is they are normally held together by a lead type weight or in a pot with wool(hair grass) for example.
Then separated into individual plants ready for planting.

Propagating plants with runners:
Small and large plants that grow runners are separated by cutting in between each new growth.
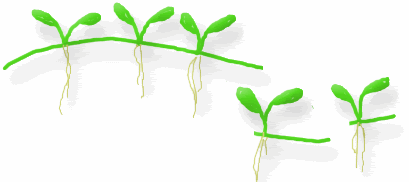
Small ground plants that produce runners are no different in the technique used for planting.
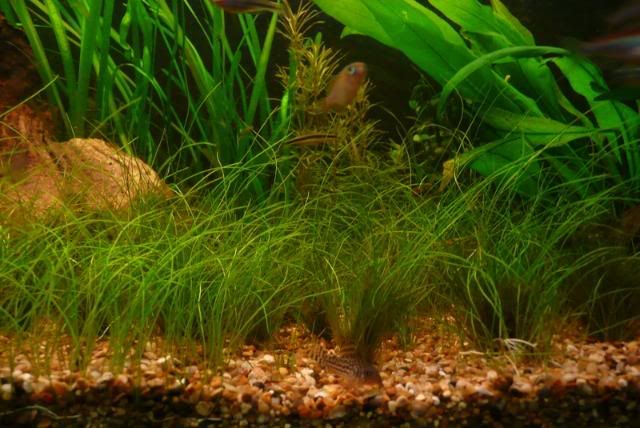
When plants that grow from runners, like E. tenellus, Glossostigma, Vallisneria, and Sagittaria, become too thick, their roots will suffocate unless they are trimmed. Sagittaria and Vallisneria don't grow over themselves no matter how thick they get, so simply removing dead leaves from time to time is sufficient. E. tenellus and Glossostigma are small plants, however, and when they become dense, the leaves will pile up five or six leaves deep and the lower ones will become completely asphyxiated. These grow along the walls, so carefully cut and remove the runner around 7cm from the wall to prevent overgrowth.
Floating plants:
These are exactly what they say they are, floating plants. once they have been removed from any packaging they are simply placed in the water surface and left to float.
CAUTION:
With floating plants they can very quickly over run the whole surface area with out you realising it and block out light to lower plants this could cause an algae problem for higher light plants below if they are restricted from their light source.